For this project, I wanted to develop an accurate recreation of the Autopilot control panel present in the cockpit of the Airbus A220 aircraft. I have a particular interest in this aircraft, as I go into more detail on in my other portfolio entry. When I am using my flight sim, I will generally fly the A320, which I have already have an autopilot panel for, however this one I purchased online. I was actually first compelled to work on this project after I took apart my A320 autopilot panel to see how it worked, and was dissapointed in some of the shoddy engineering techniques and inneficient use of space, especially considering the high price I paid for it.
Modeling References
If I wanted to replicate this panel accurately, I would need a an ideally orthographic front view of the real panel. Luckily, I had access to crew training document which had an illustration of the autopilot panel. To find the correct scale, I found a picture of a pilot who had used an A4 sheet of paper as a size reference, and compared the panel to it in a picture. I used this to calculate the dimensions of the panel
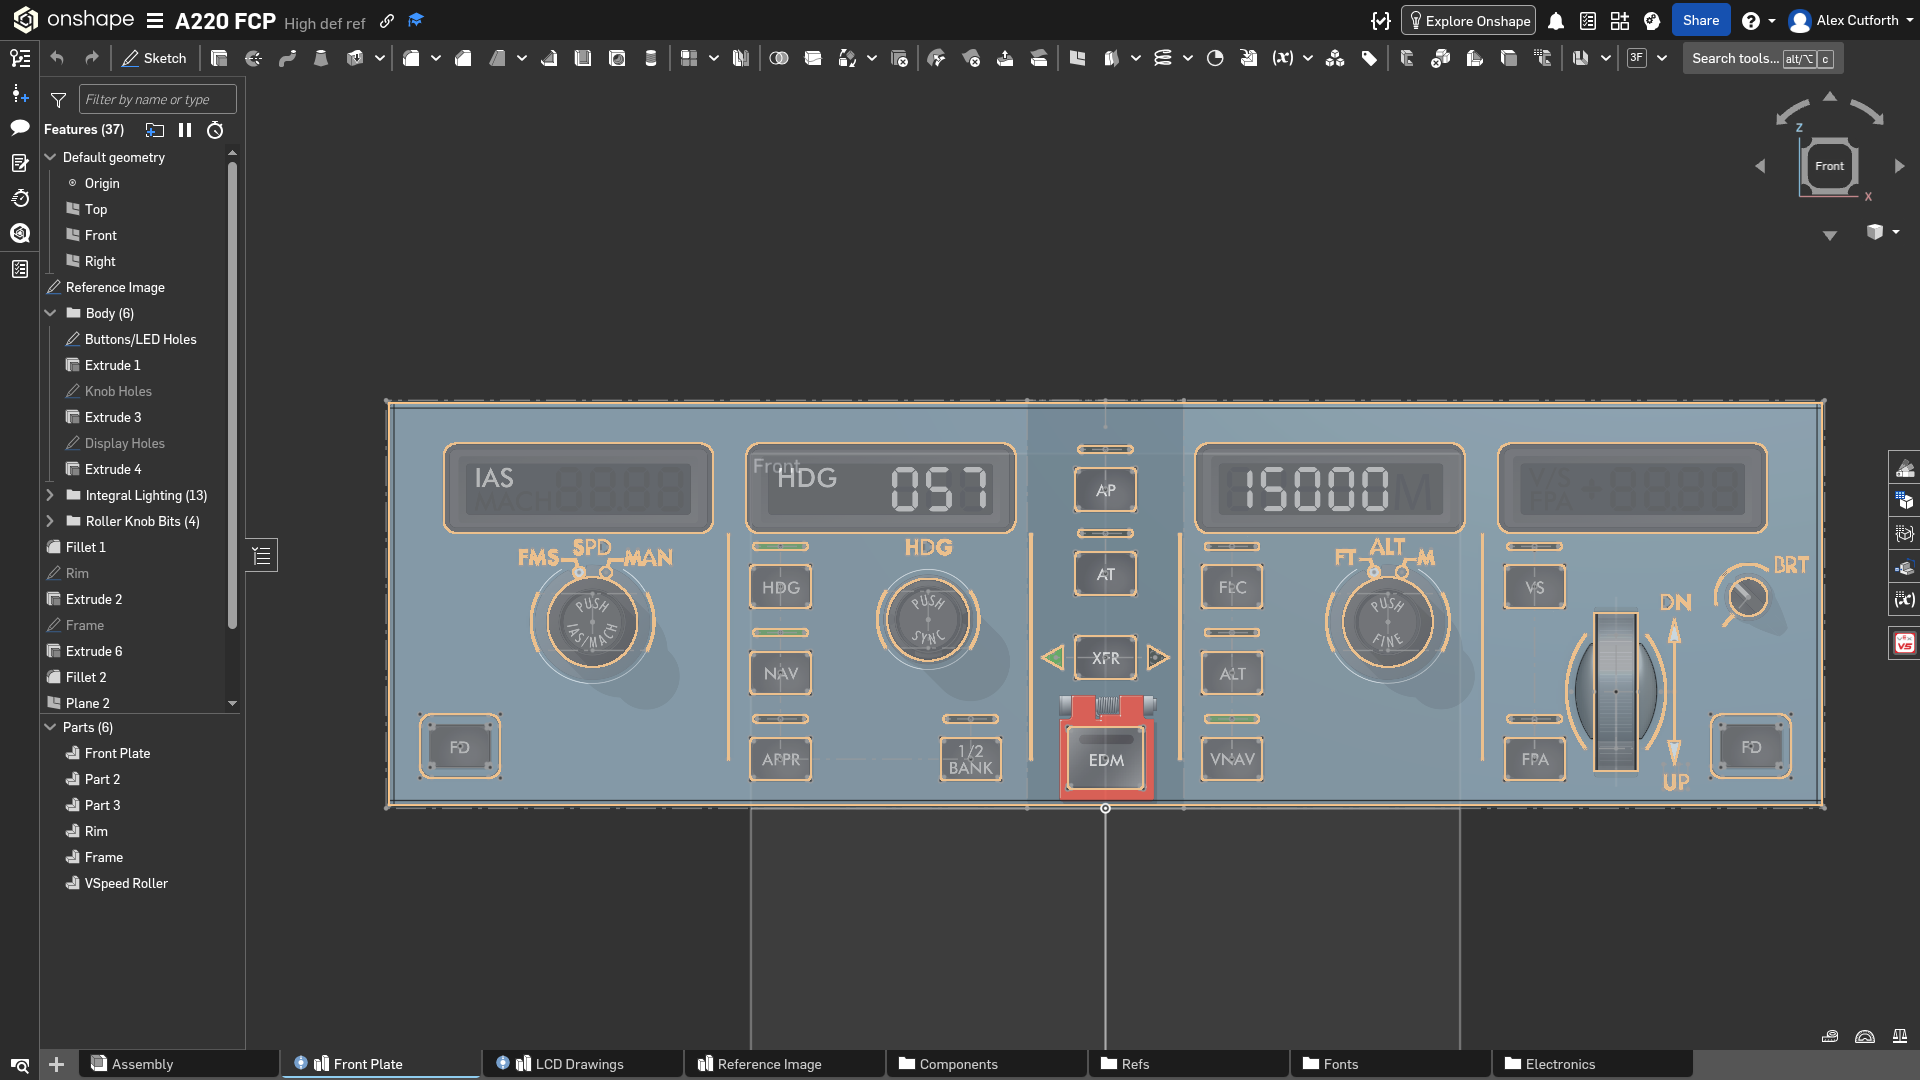
Once I had imported this reference, I sketched over the edges and cuts of the front of the panel. To make the design easy to manufacture, I plan to make the physical layers using a laser-cutter. As well as sketching the cuts for manufacturing, I also made it so I could import the sketch into KiCad as a reference for component placement.
Component Selection
For the PCB, the key peices of functionality required are:
- Tactile buttons with integrated lights for user input
- Green state indicator lights
- Rotary knobs with detents, and for some, a clickable center, and a cocentric two state rotary switch
- Segmented displays for state indication
- Integrated lights for illuminating labels
- USB-C power supply and computer connection
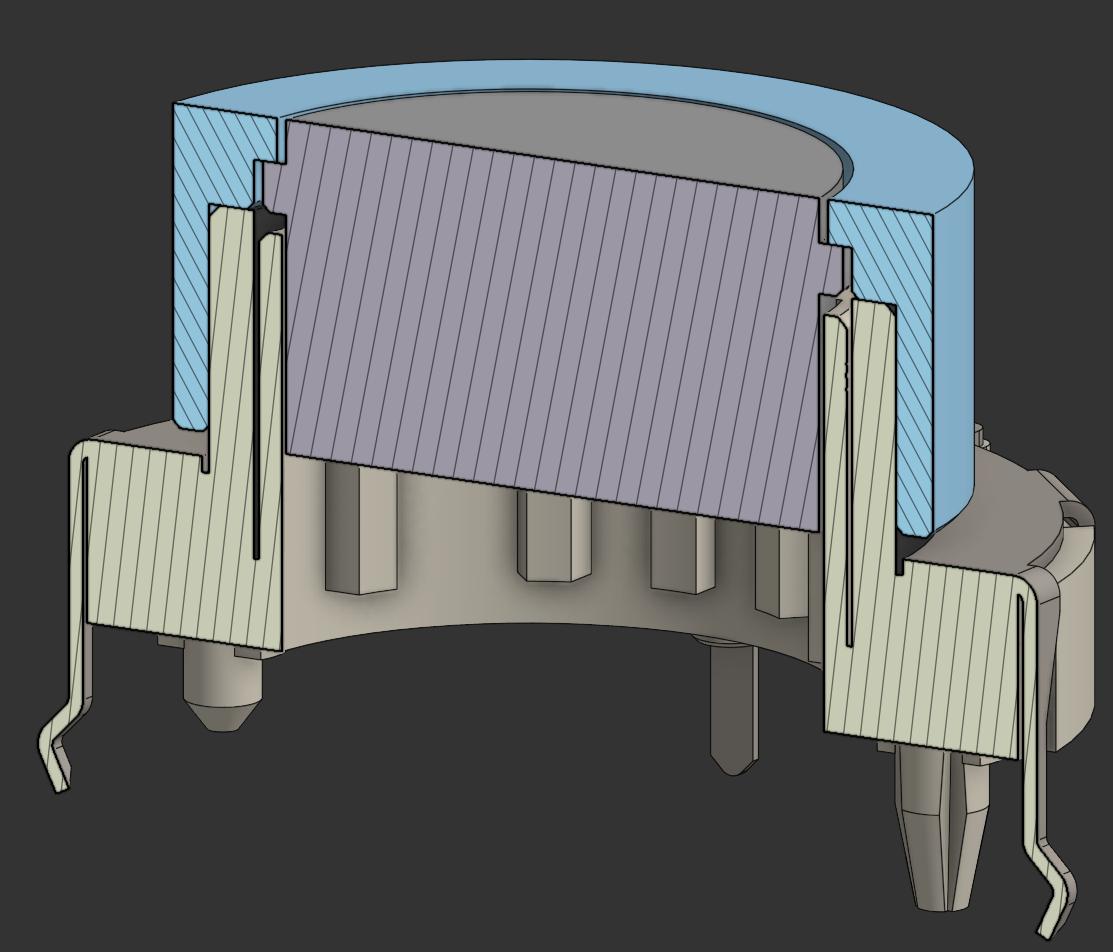
To make it easy to integrate with JLC PCB manufacturing, I prefer to select my components from the LCSC.com catalogue. For the tactile buttons, I needed a button with a relatively large travel, and an integrated LED to illuminate the button labels, and the best one for my needs on LCSC was the Khon TSL06123. For the knobs, I needed an encodeer with an integrated button, however I was unable to find any components that were capable of this. Luckily, I discovered a line of encoders from ALPSALPINE called ring encoders, which had a large enough free space in the middle for a seperate tactile switch to be placed cocentrically with it. They also come with detents, which means I could avoid having to build my own detents, which would take up more space. The encoder I chose was the ALPSALPINE EC21A0920401.
Knob Modeling
The most physically detailed part of this panel are the turnable knobs. These had to be 3D printable, attach to the encoders, and have a clickable core. Since there are multiple different designs which all need to connect to the same encoder, I designed a generic base peice which can be expanded upon.
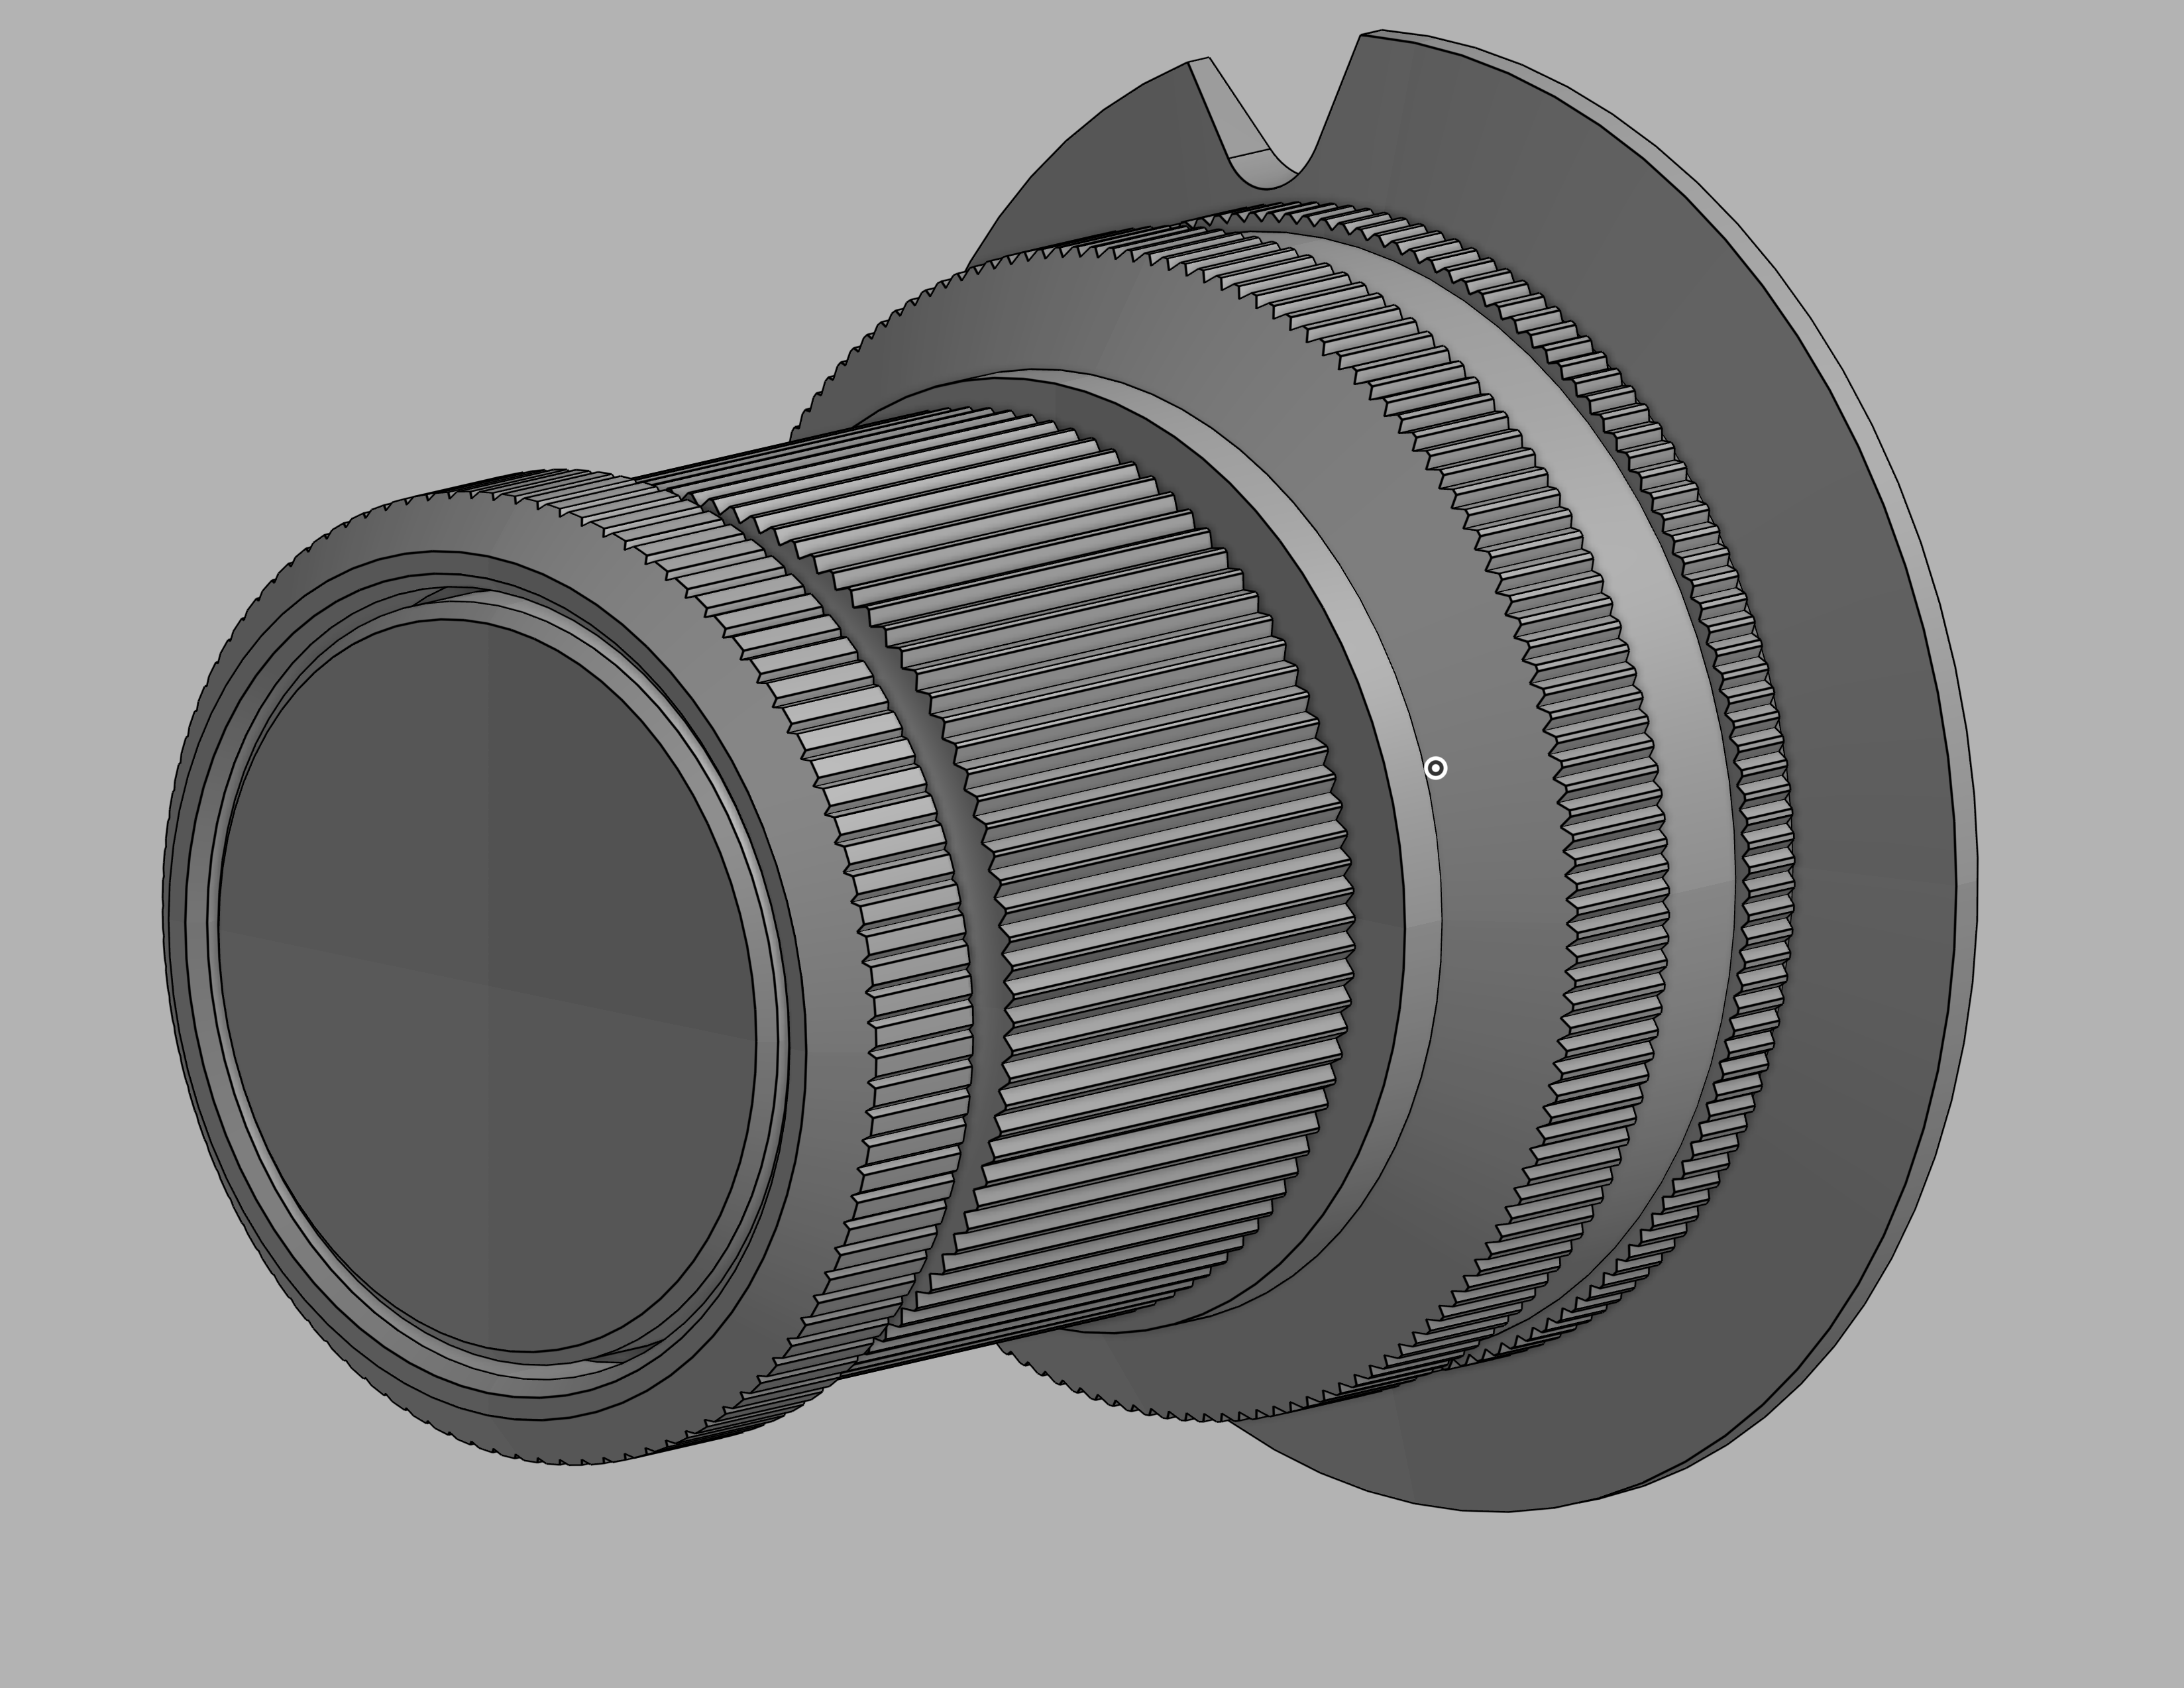
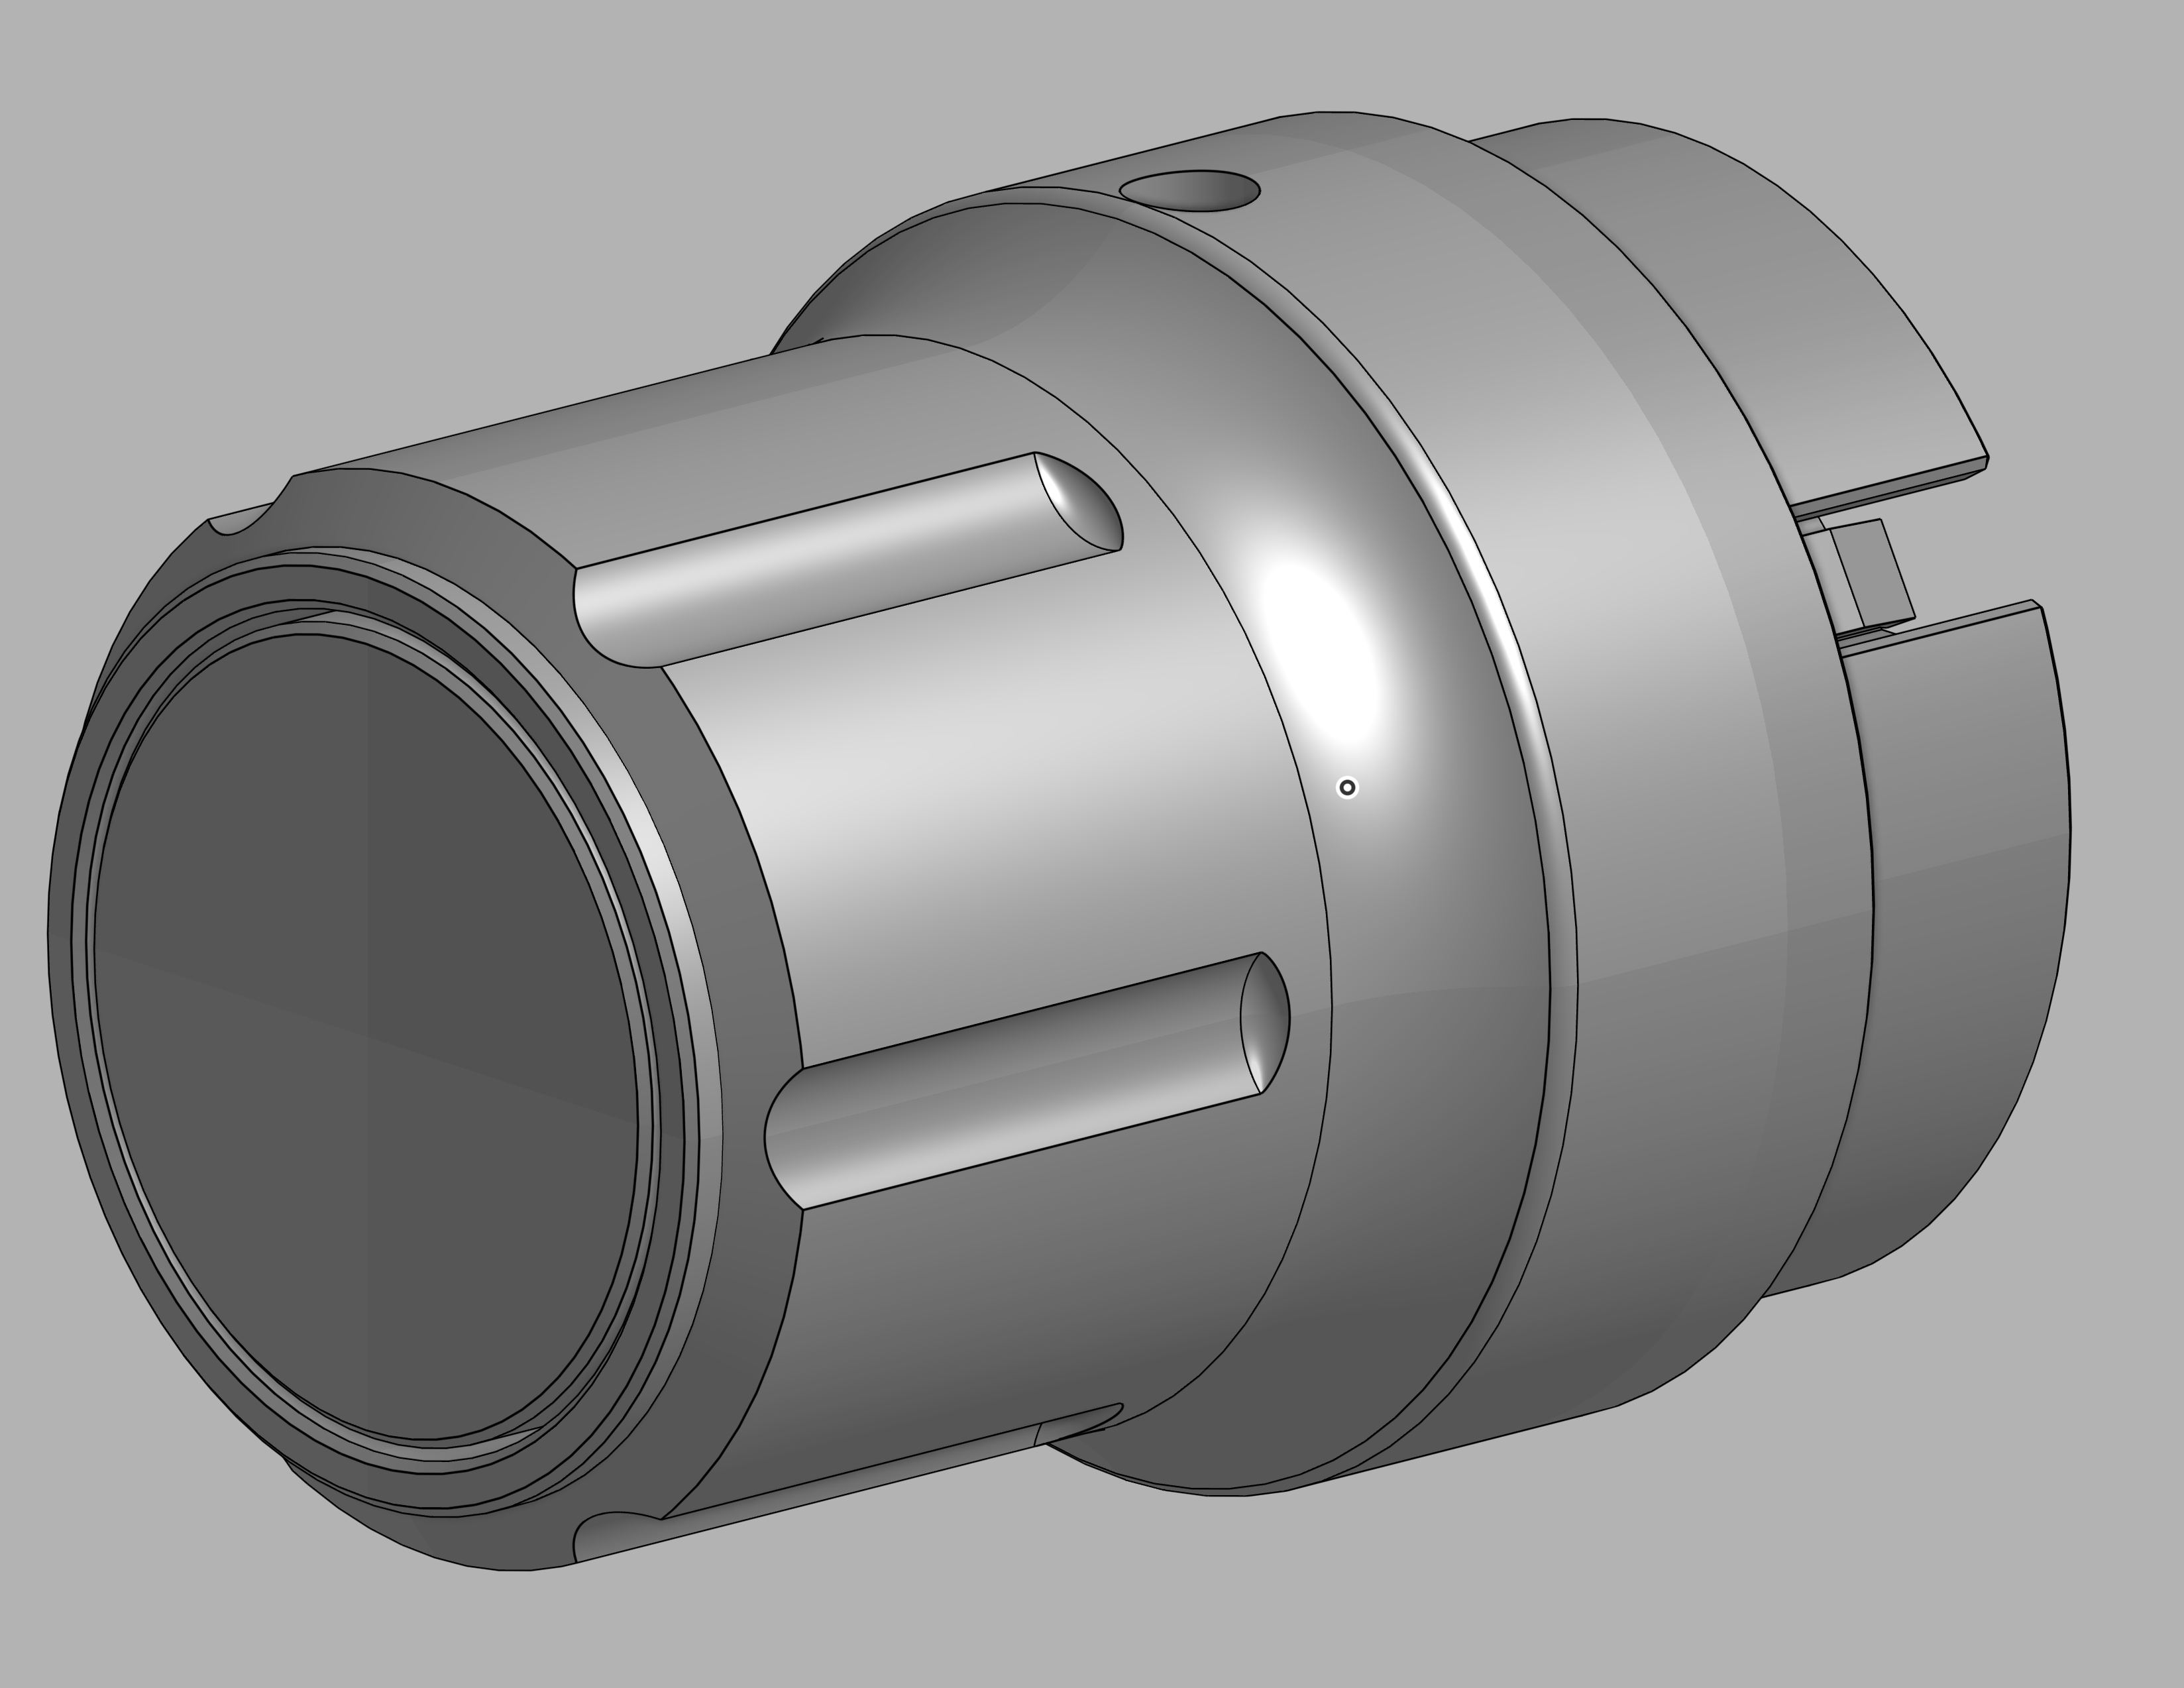
I then modelled the knobs based on close up pictures of the panel I had.
| Speeed Knob | Heading Knob |
|---|---|
 |  |
PCB Design
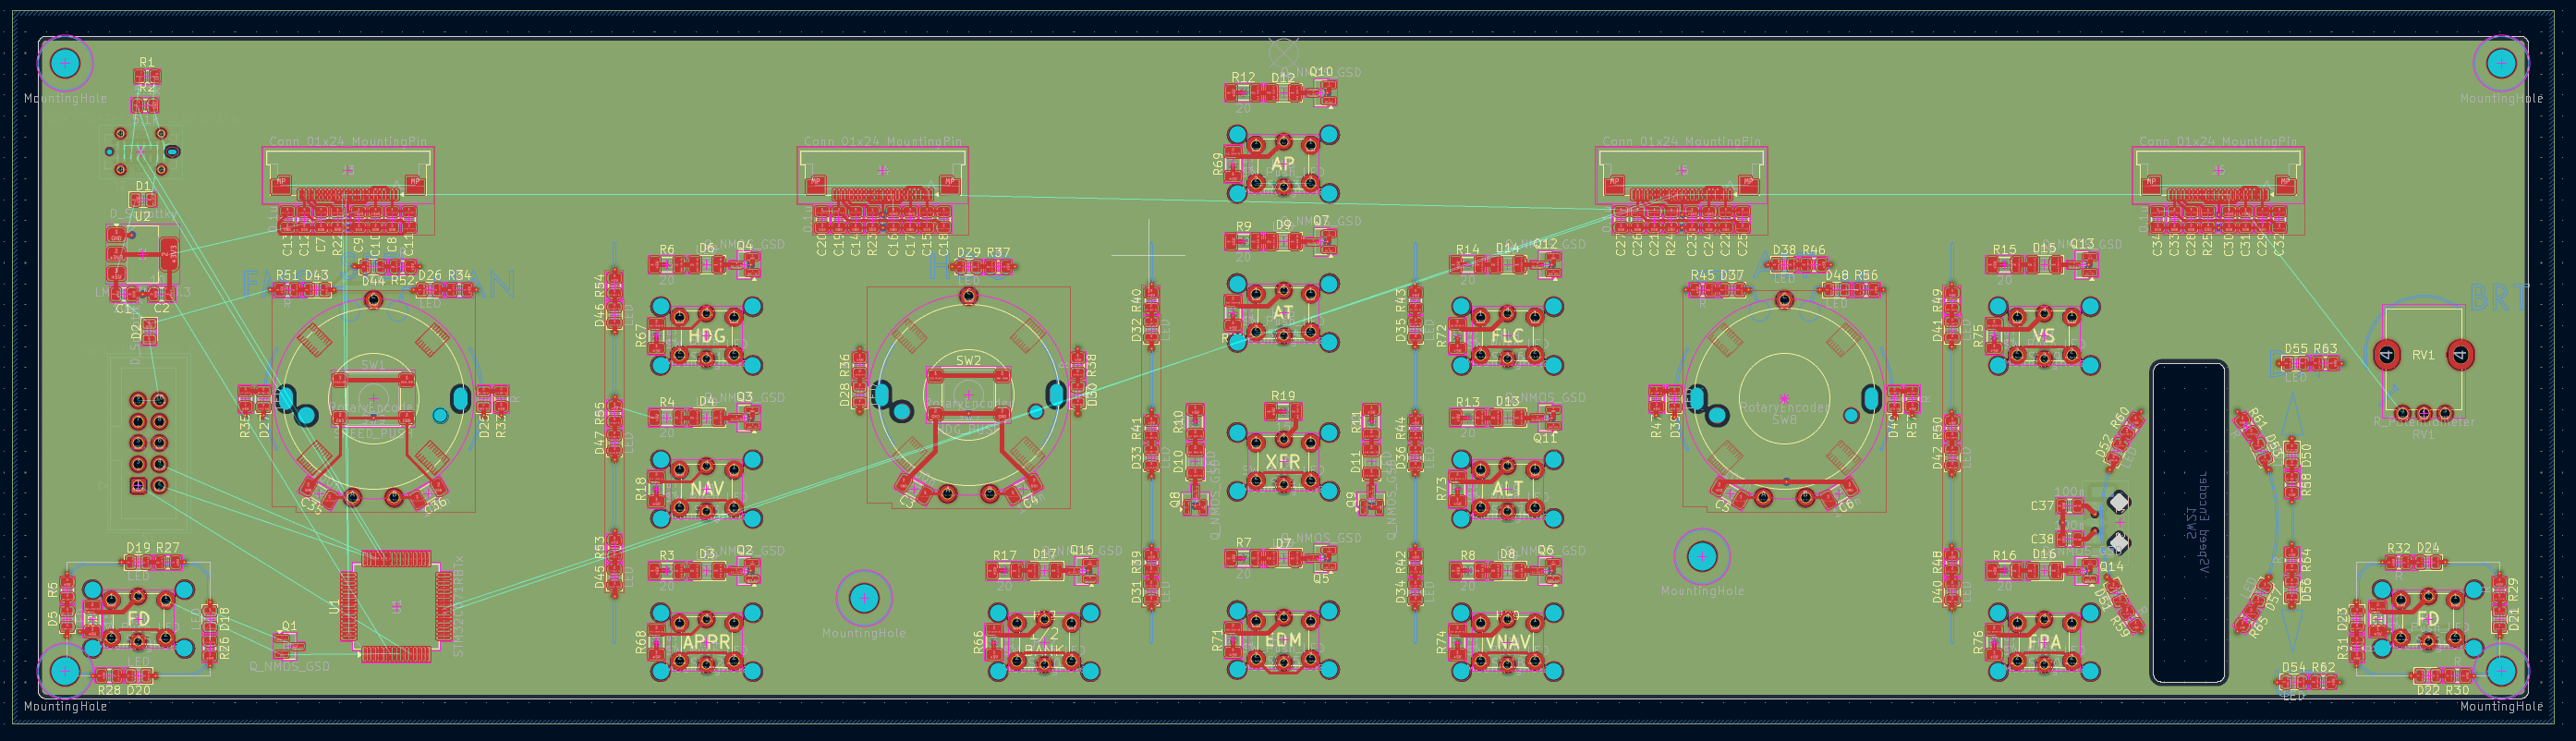
This part of the project is still a work in progress, check back later!